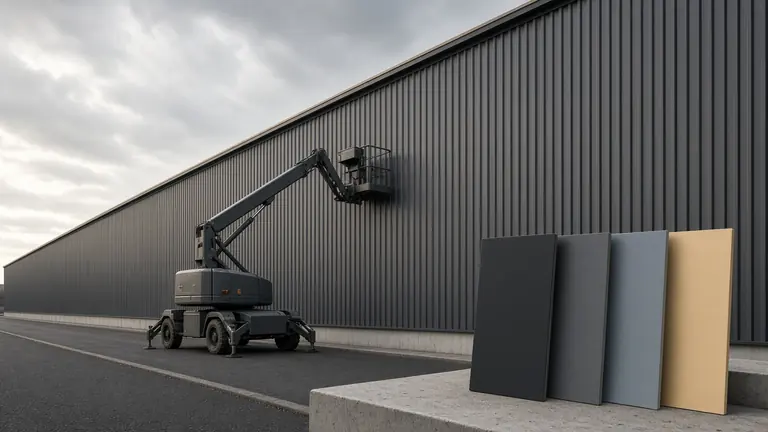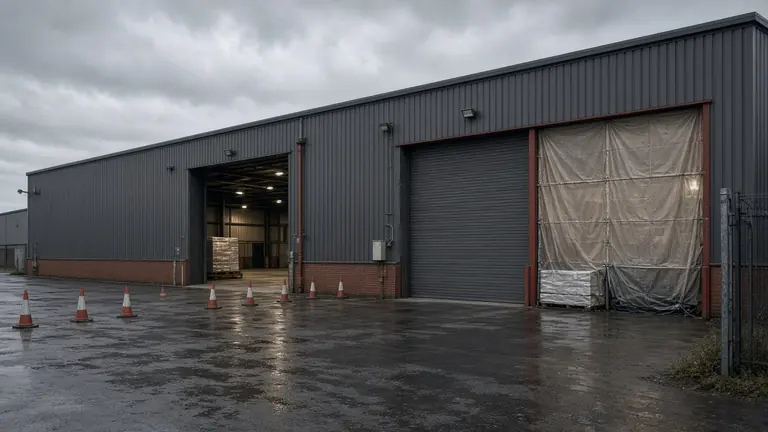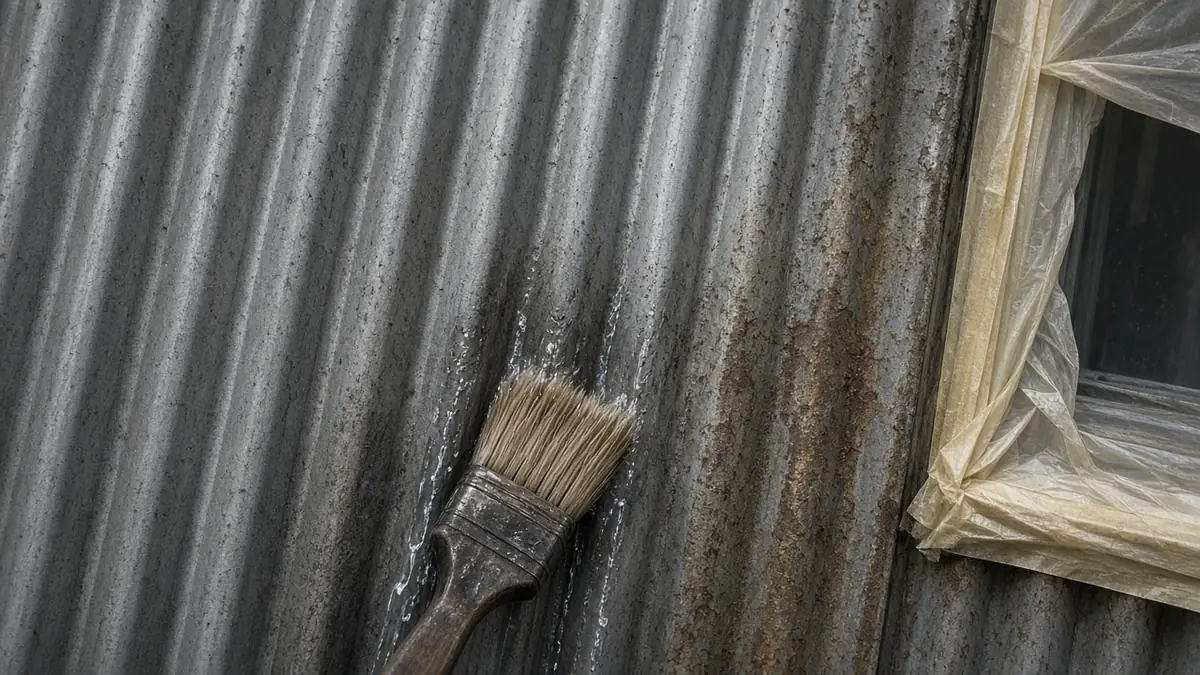
If you are responsible for a tired industrial unit, a retail warehouse or a leisure building, the question is rarely whether the cladding can take a new colour. It is how to prepare metal cladding for painting so the new finish actually stays on. Most early coating failures on commercial elevations trace back to preparation that was rushed, skipped or never written down.
This article walks through the preparation sequence for a commercial respray, what each step is there to prevent, and what facilities managers, landlords and main contractors should check before they approve the colour going on. It does not replace a site survey, and it does not quote a universal specification, because the right preparation depends on the sheets, the existing coating and the exposure in front of us.
Start with a decision: is the cladding worth recoating?
Preparation cannot rescue an envelope that has failed. Before anyone prices washing and priming, the survey has to answer a blunter question: are the sheets sound enough to recoat?
Signs that point away from a straightforward respray include perforated or soft steel, panels that flex under light pressure, failed or missing fixings, water staining inside the building that suggests leaks, and widespread delamination of the factory coating. Cosmetic spraying will not fix any of those. If several apply, read our cladding respray versus replace guide before going further.
Where the elevation is broadly sound with local problems, the usual route is to flag individual panels for replacement by others, then prepare and recoat the whole face so the finish reads as one surface.
Step one: clean the whole elevation
Every metal cladding respray starts with cleaning, even when the sheets look reasonably clean from the car park. Years of traffic film, exhaust deposits, algae, bird fouling and, on coastal or roadside sites, salts sit on the surface and stop a new coating bonding.
Cleaning is normally a suitable detergent or cleaner followed by pressure washing and a thorough rinse, so no residue dries on the panels. Heavier contamination, such as oil around extract outlets or loading bays, may need scrubbing and a second clean. Organic growth may need a dedicated treatment before washing.
Two things are easy to overlook here:
- Run-off and drains. Washing a large elevation produces a lot of dirty water. On an occupied site, the method statement should say how run-off is managed near drains, entrances and neighbouring units.
- Drying time. The panels must be fully dry before any further work. Laps, profile troughs and the backs of flashings hold water longer than the flat faces.
Step two: inspect again once it is dry
Cleaning often reveals what dirt was hiding: hairline cracking, loose patches of old paint, scratched or peeled plastisol, rust spots at fixings and creeping corrosion along cut edges. A second inspection on the clean, dry surface is where the real preparation scope gets confirmed.
This is also the right moment to deal with unknowns. If the cladding has been overcoated before and nobody knows what with, a test area tells you whether the existing coating will accept the new system. Skipping that step to protect a programme date is how adhesion failures start.
Step three: remove what is failing and key what is sound
Coatings that are loose, flaking or poorly bonded have to come off. The edges of sound coating around those areas are feathered back so the repair does not show as a hard step through the finish.
Sound, intact coating does not need stripping. It does need to be abraded or otherwise prepared so the new system has something to grip, following the preparation the product’s technical data sheet asks for. Light chalking is normally dealt with during cleaning and abrasion. We cover what chalking and fading tell you about an existing system in our guide to how long cladding coatings last.
Step four: treat corrosion, cut edges and fixings
Corrosion is where preparation earns its keep. Rusted areas are mechanically prepared back to clean, sound metal, then primed with a product compatible with the finishing system, usually on the same day so fresh steel is not left exposed.
Pay particular attention to:
- Cut edges and end laps, where factory-coated steel is most exposed and corrosion often creeps back under the coating.
- Fixings and fastener heads, which may need treating, capping or replacing.
- Flashings, trims and drip edges, which are often a different material or coating from the main sheets.
- Sharp edges and profile ridges, where a coating film tends to run thin unless application is controlled.
If the corrosion is deeper than surface rust, the survey should record it and the panel should go back on the replacement list rather than being painted over.
Step five: protect everything that is not being sprayed
Masking is preparation too. Before spraying, rooflights, glazing, goods doors, signage, plant, gutters, outlets and neighbouring property all need protecting. On occupied buildings, that includes keeping fire exits usable and staff and customer routes clear.
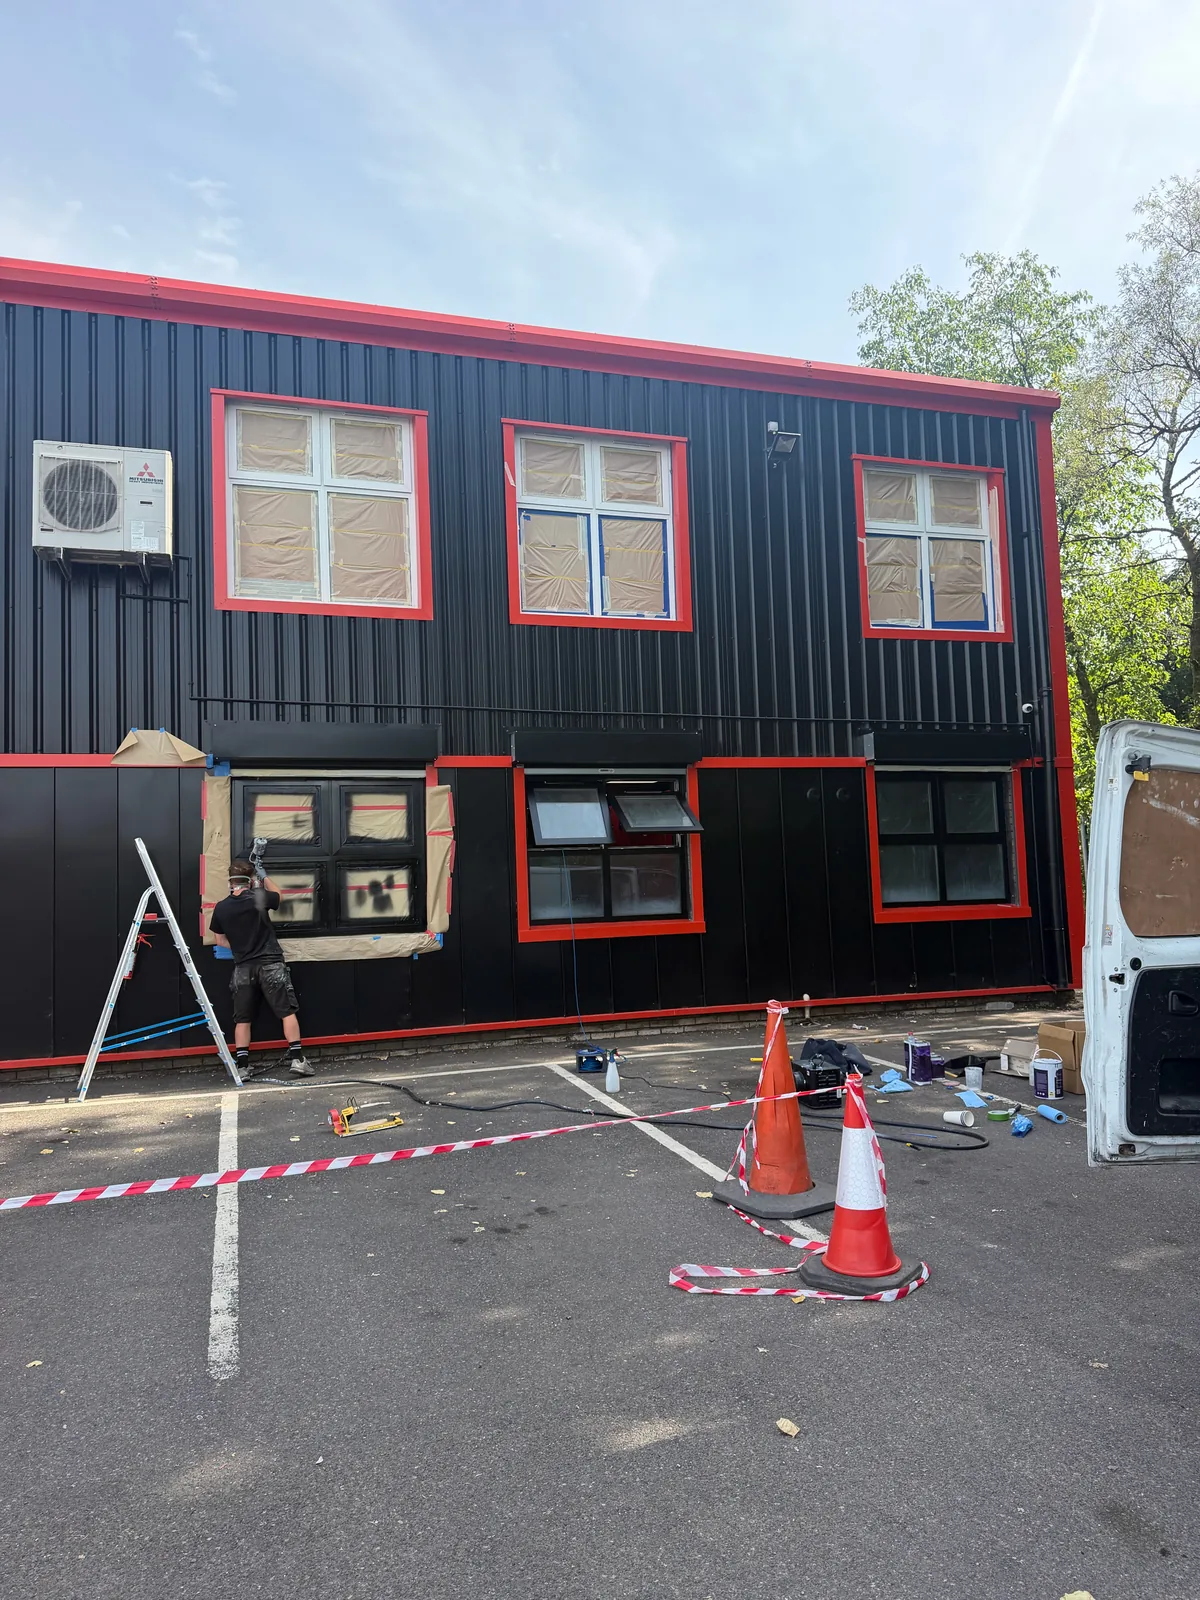
On the fitness facility shown above, cladding, aluminium and UPVC windows, shutters, a canopy and a brickwork band were all part of one package, so protection and spraying were staged across the elevation. The detail of that job is on our fitness facility exterior project page.
Step six: check the weather, not just the forecast
Even perfect preparation fails if the coating goes on in the wrong conditions. Every product’s technical data sheet sets limits for surface and air temperature, relative humidity and the margin above dew point. Damp, frost, mist or imminent rain all rule out application.
On metal cladding, the surface can be cold and wet with condensation early in the day while the air feels fine. Good contractors measure conditions on site rather than relying on the forecast, and record them. For clients, the practical point is that winter or shoulder-season programmes need float for weather days.
Step seven: prime where the specification calls for it
Bare metal from corrosion repairs and any areas the system requires are primed before the finish coats. Primer choice follows the substrate, the existing coating and the finishing system, not habit. We use systems such as Becker Acroma 2K, Kolorbond and Tikkurila where they suit the substrate and exposure, and the data sheet governs overcoating times. More on how we specify systems is on our specifications page.
What to ask for before the colour goes on
If you are approving the work, preparation is the part you can least easily check afterwards. Before spraying starts, it is reasonable to ask for:
- RAMS and COSHH assessments covering washing, abrasion and spraying.
- Technical and safety data sheets for each product in the system.
- The agreed RAL or BS colour reference and sheen, in writing.
- A record of panels flagged for replacement, test areas and corrosion repairs.
- Who signs off preparation as complete, and when.
Our five-year written guarantee applies where the surveyed specification is followed, which is exactly why preparation is written into that specification rather than left to the day. Our commercial cladding spraying page explains how survey, preparation and spraying fit together.
The short version
Preparing metal cladding for painting is a sequence: decide whether the sheets are worth recoating, clean, inspect again, remove what is failing, treat corrosion and edges, protect the surroundings, respect the weather limits and prime where required. Skip a step and the colour may look right on handover but not for long.
If you have an elevation in mind, send photos, approximate areas and any known problems through our contact page and we will tell you what the survey needs to check.